
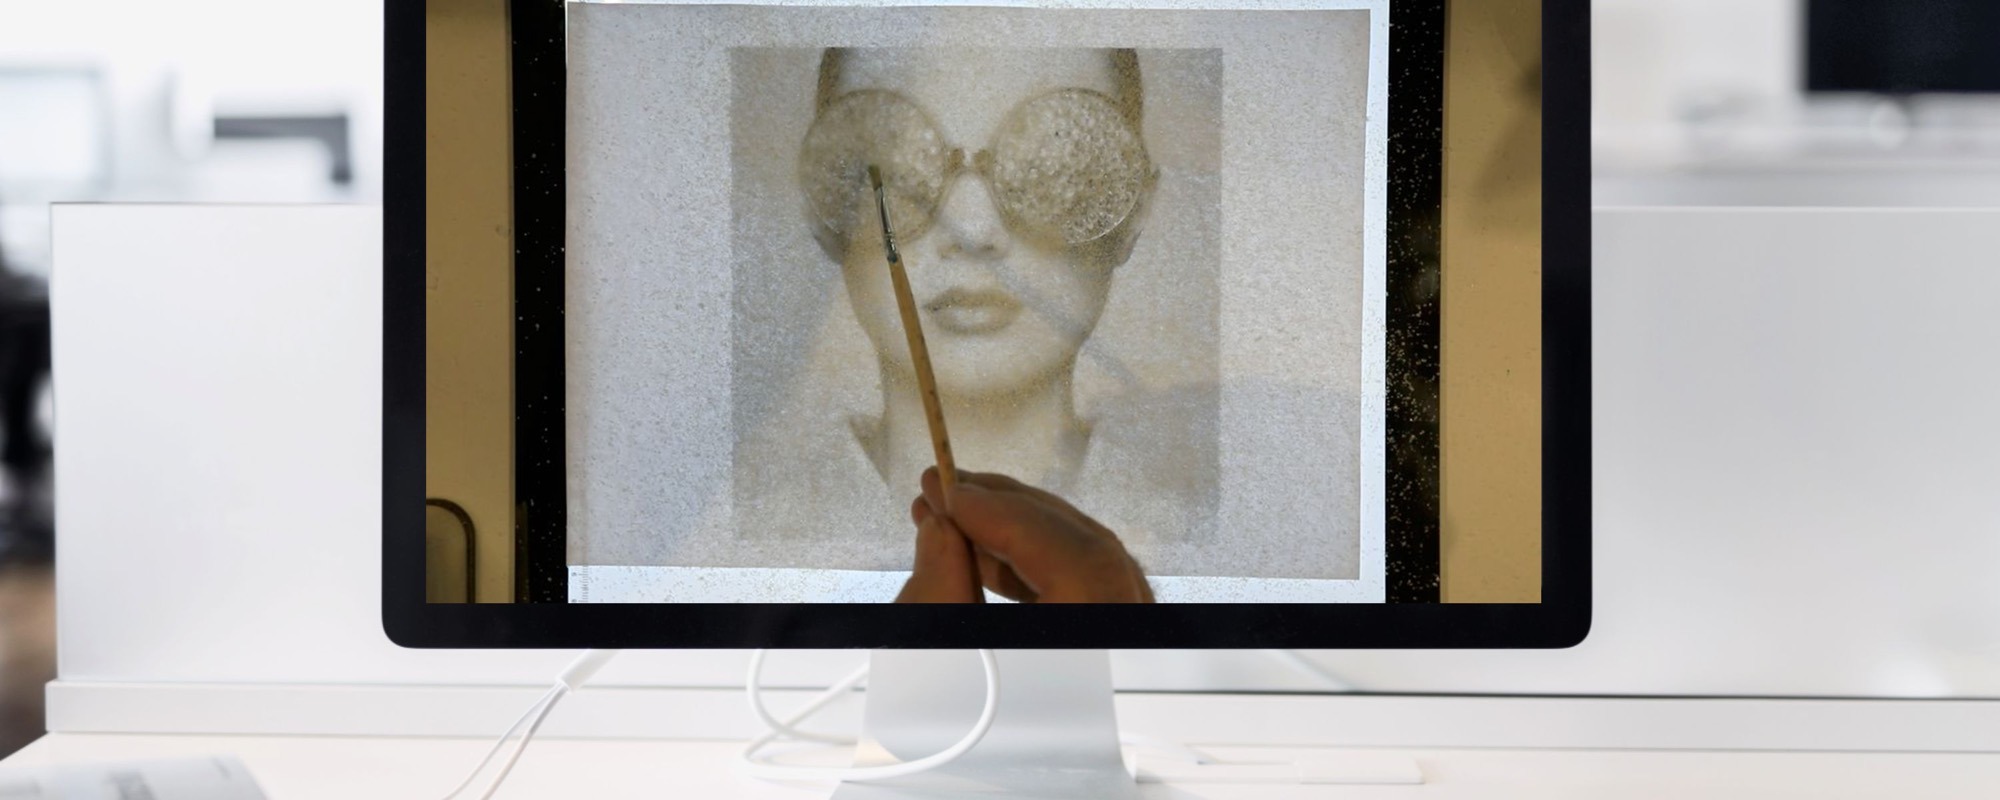
The second course
Going Further in Art Photography
The first course, Getting Started in Art Photography, taught you how to use craft techniques to take a photograph and move it into an artistic impression.
This one teaches you how to add the very elements that scare photographers but delight artists. Distortion, texture and abstraction, brought into your own work.
Eight techniques where the surface itself starts doing the work, where the artwork becomes tactile, and where the finished piece is something people want to touch rather than just look at.
Read this first
This is the second course, not the place to start
Going Further picks up exactly where Getting Started in Art Photography stops. The techniques build on one another. Each lesson here assumes the handcraft taught in the first course, and several of them are the first course’s techniques taken two or three steps further.
The same is true of your work space, your equipment and your art supplies. Everything you bought for the first course carries straight over, the camera, the printers, the light table, the paints, the solvents. Nothing gets retired, which is also why this course needs so little new equipment.
If you have not done the first course, start there. You can buy this one today and nobody will stop you, but you would spend eight weeks catching up instead of making work, and that is a poor way to spend the money.
A word about the two sites. This page is where the journey is explained. The courses themselves are taught at Art Photography Academy, which is where the lessons, your class group and your library live. The buttons take you across when you are ready.
Or take both, and save $200
Sixteen techniques between them. Separately they are $690 each. Together they are $590 each, so $1,180 for the pair. You still start with the first one and work through it properly, the saving simply means you are not deciding twice.
See both courses togetherYou will be taken to artphotographyacademy.com
Who this is for
Photographic artists who have stopped asking how and started asking why
You can already take a photograph and transform it into something special, with an artistic feel that deserves to be framed. The technique is not the obstacle any more.
What you want now is depth. A body of work rather than a set of exercises, and a way of working that starts to look like yours rather than like the lesson it came from.
- You finished the first course and you would like to go further. You have the work area, the materials, and you are starting to build confidence.
- You are drawn to abstraction. The pictures that stop you are the ones you cannot quite explain, and you would like that to become a method rather than an accident.
What changes at this level
The surface starts carrying the meaning
In the first course the handcraft techniques primarily sit on top of a photograph, and the photograph itself is still respected and quite recognisable. Here, that relationship gets challenged.
Paint, glass, crystal, foil and optical distortion stop being finishes and become the subject. A picture made this way changes as you move past it, because the surface holds light differently from one angle to the next, and no reproduction of it is ever quite right.
That is why this course starts to move your work away from pure decoration, and begins to prepare you for the fine art genre, a place where your personal signature becomes evident as uniquely yours.
What is taught
Eight techniques, and not one of them is a Photoshop filter
Released one a week over eight weeks, or taken at your own pace. They are taught in order because each one builds on the last, and by the eighth you are combining several in a single piece. Each arrives with its materials list, and everything stays in your library afterwards.
Fluid Abstract Impressions
Worked wet, and never quite repeatable. The lesson that changes how you see.
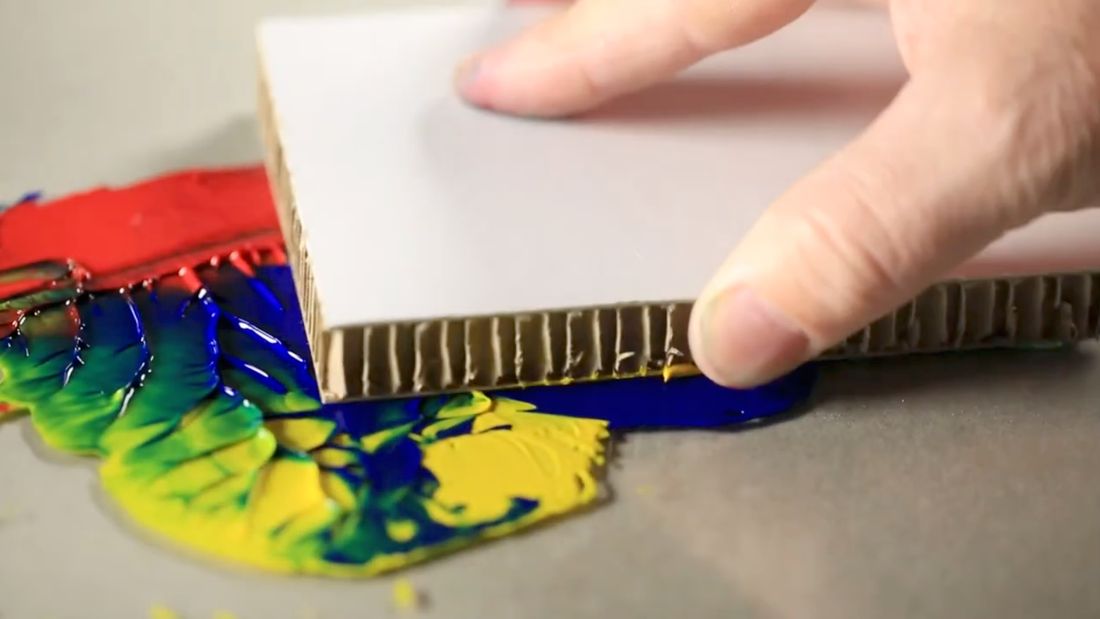
Abstract Paint and Glass Fusion
Pressed into the image so the surface carries light differently wherever you look.
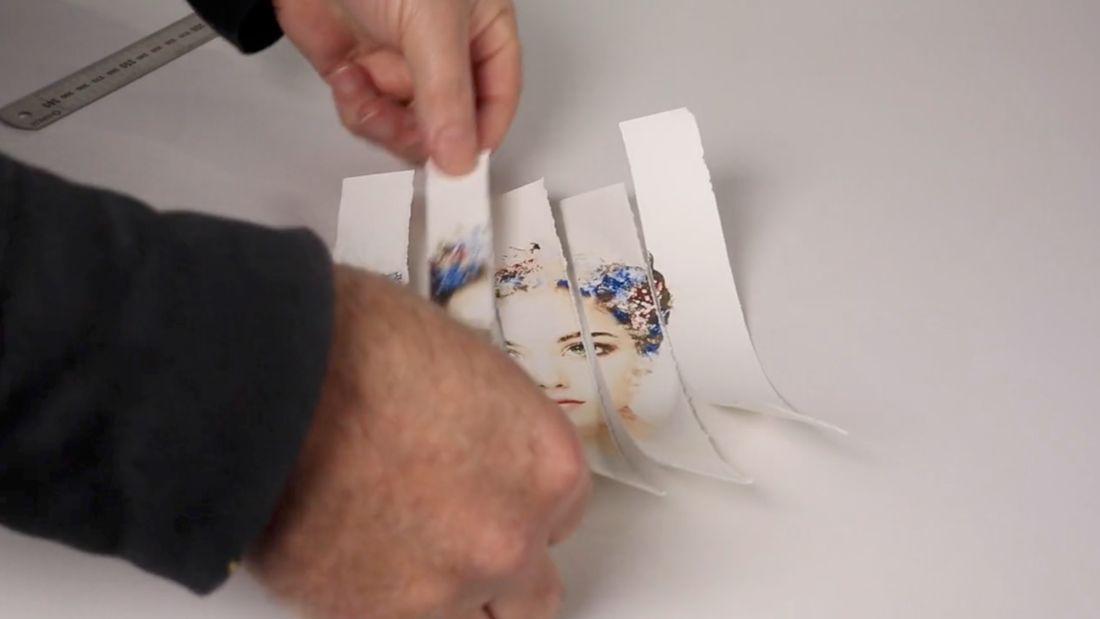
Refracted Impression
Close to Cubism, but made through a lens rather than on an easel.
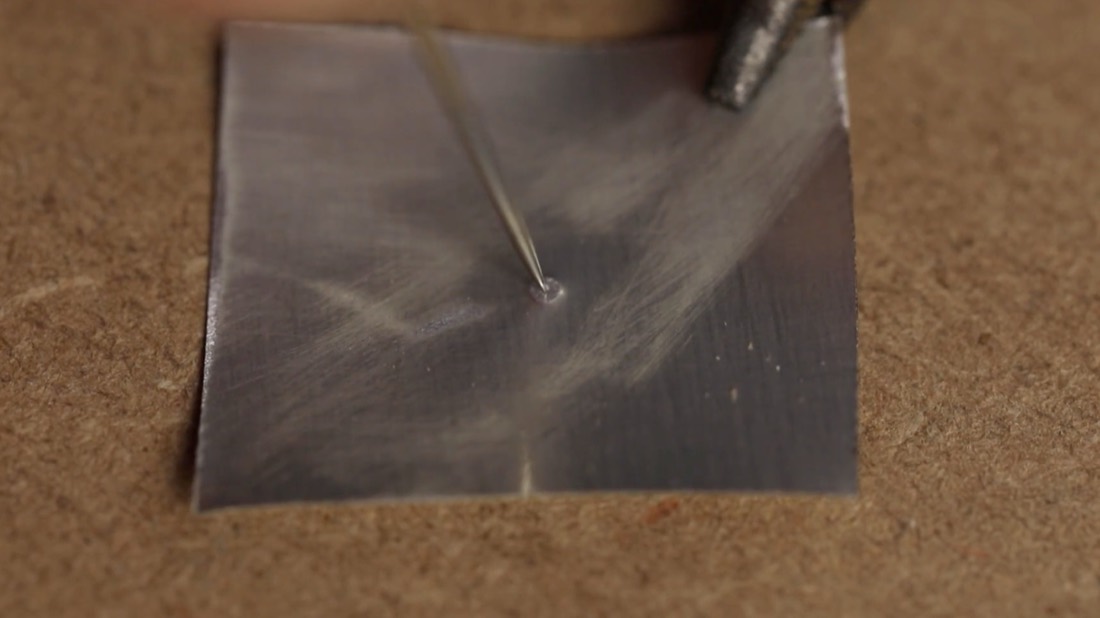
Abstract Impressionism using Pinhole Photography
You make the lens yourself. Drawing with light rather than recording it.
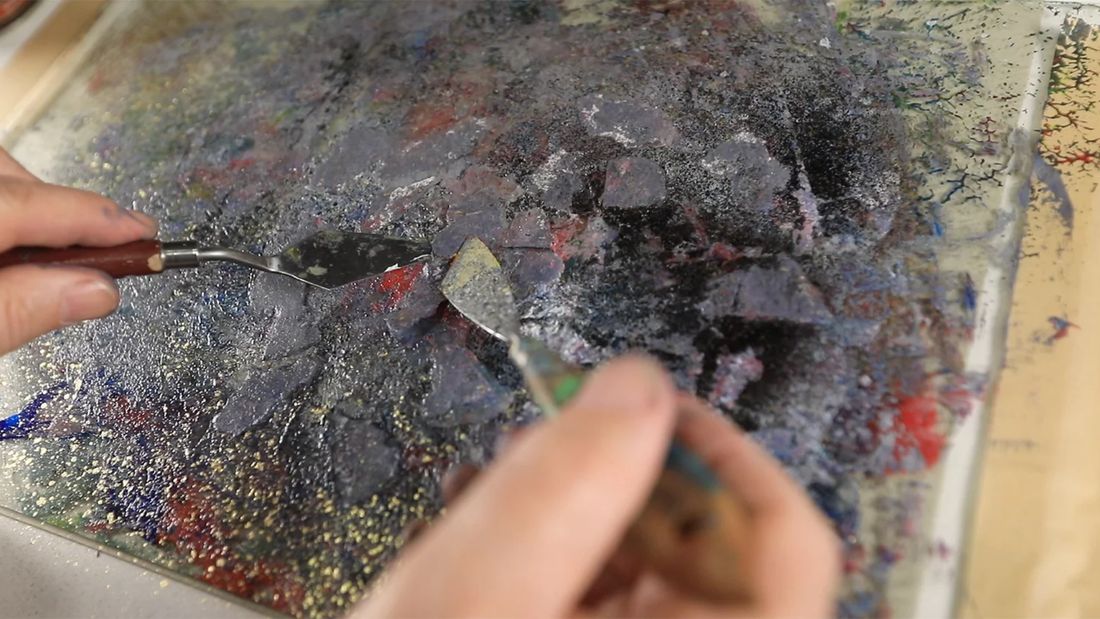
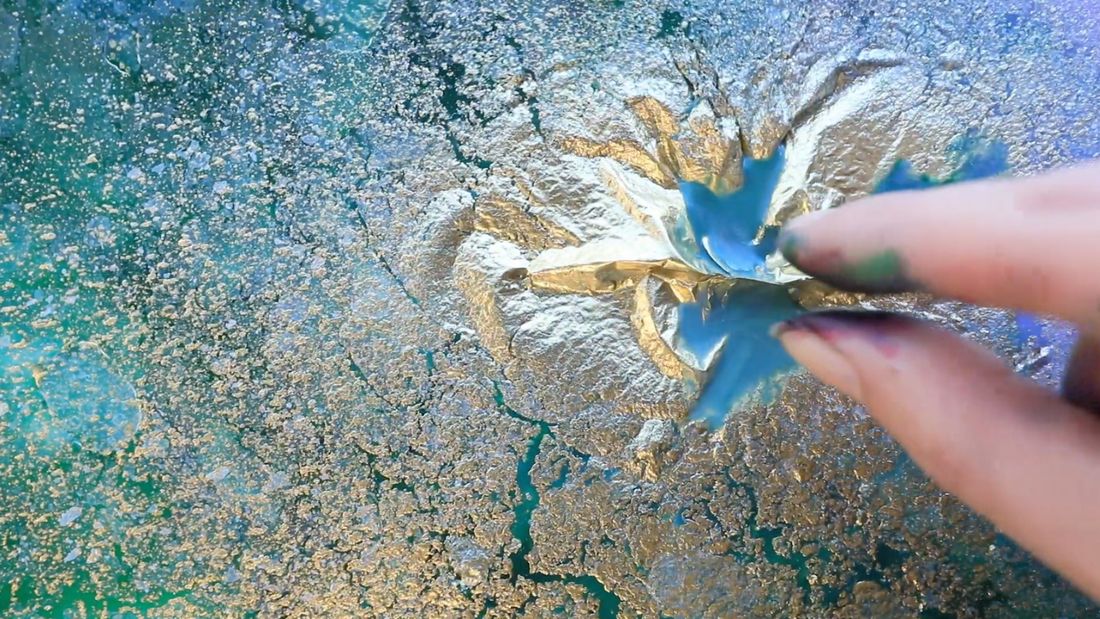
Textured Foil Fusion
Overlays laid by hand, so the finished piece reads as an object rather than a print.
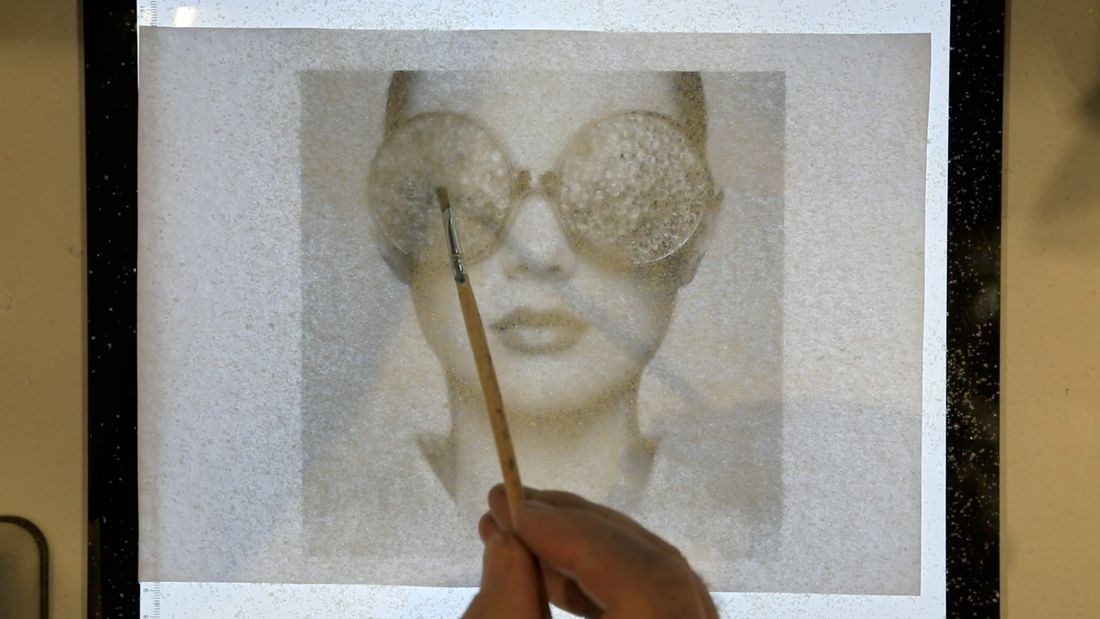
Crystal and 3D Overlays
Depth built physically into the surface. The one students say has to be seen in the room.
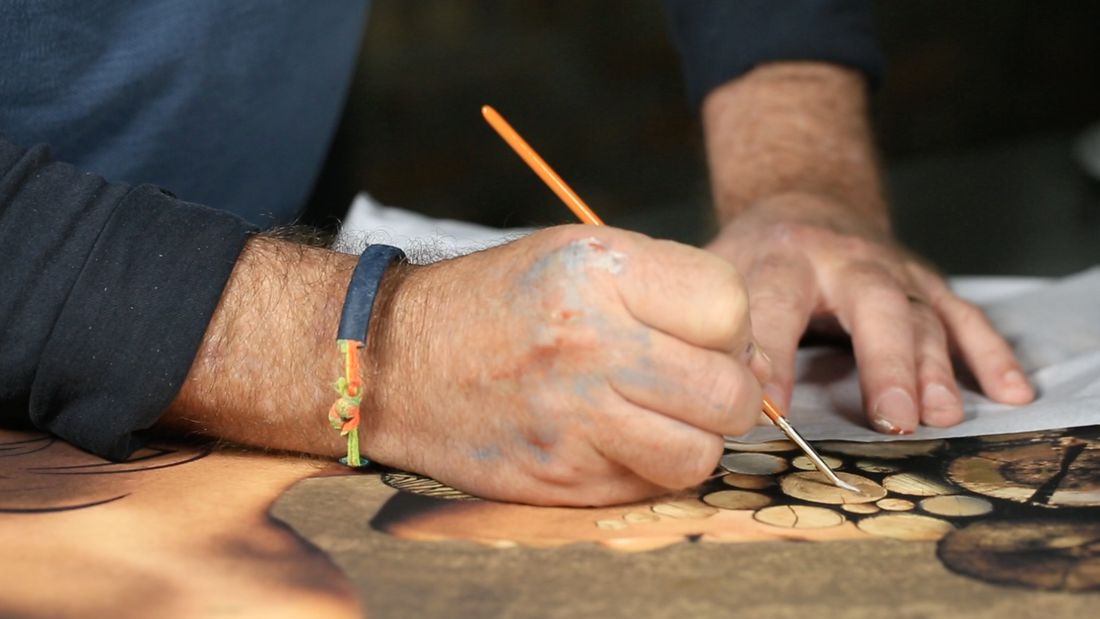
Paint Overlays and Colour Image Transfers
The colour transfer taken further, in three parts, including the Polaroid border finish.
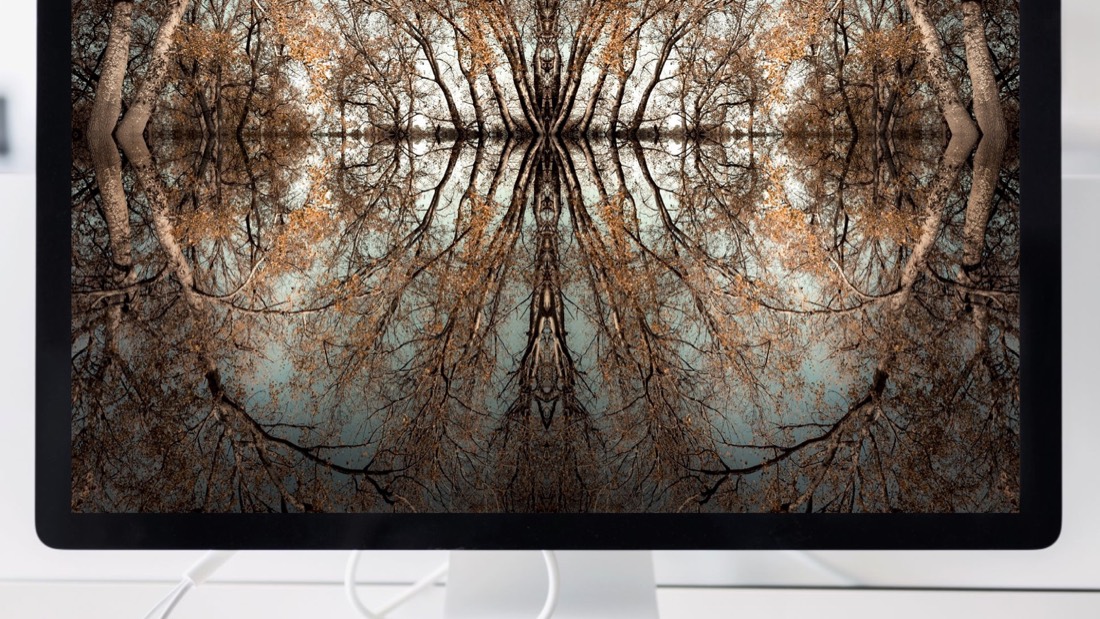
Mirror Montage
The picture stops behaving like a window and starts behaving like a pattern. The lesson that pulls the other seven together.
Taught at the Academy
Going Further in Art Photography
The lessons, the assignments and your class group all live at Art Photography Academy, where the course is taught.
You post your work into your class group as each technique lands, and Martin gives you feedback on it directly. That is the part you cannot get from a video.
See the courseYou will be taken to artphotographyacademy.com
What you will need
Mostly, things you already own
This is the part people brace for, and it is the part that catches them out in the opposite direction. The first course is where the spending happens. By the time you reach this one the bench is already built.
- Everything from the first course. The camera, the printers, the light table, the paints and the solvents. Nothing gets retired and nothing is replaced.
- Glass and foils. For the fusion and texture techniques. Ordinary, cheap, and available anywhere.
- Crystal and 3D medium. For the overlay technique, and the full list reaches you before you start.
- Almost nothing for the pinhole lesson. You make the lens yourself and the materials cost next to nothing.
- Photoshop, more than last time. Still not required, but several techniques have a digital half, and each one comes with its own tutorial rather than a general lesson.
Four small additions to a bench you already have. That is the whole list.
What comes out of it
Work made on this course, by people who had already finished the first one
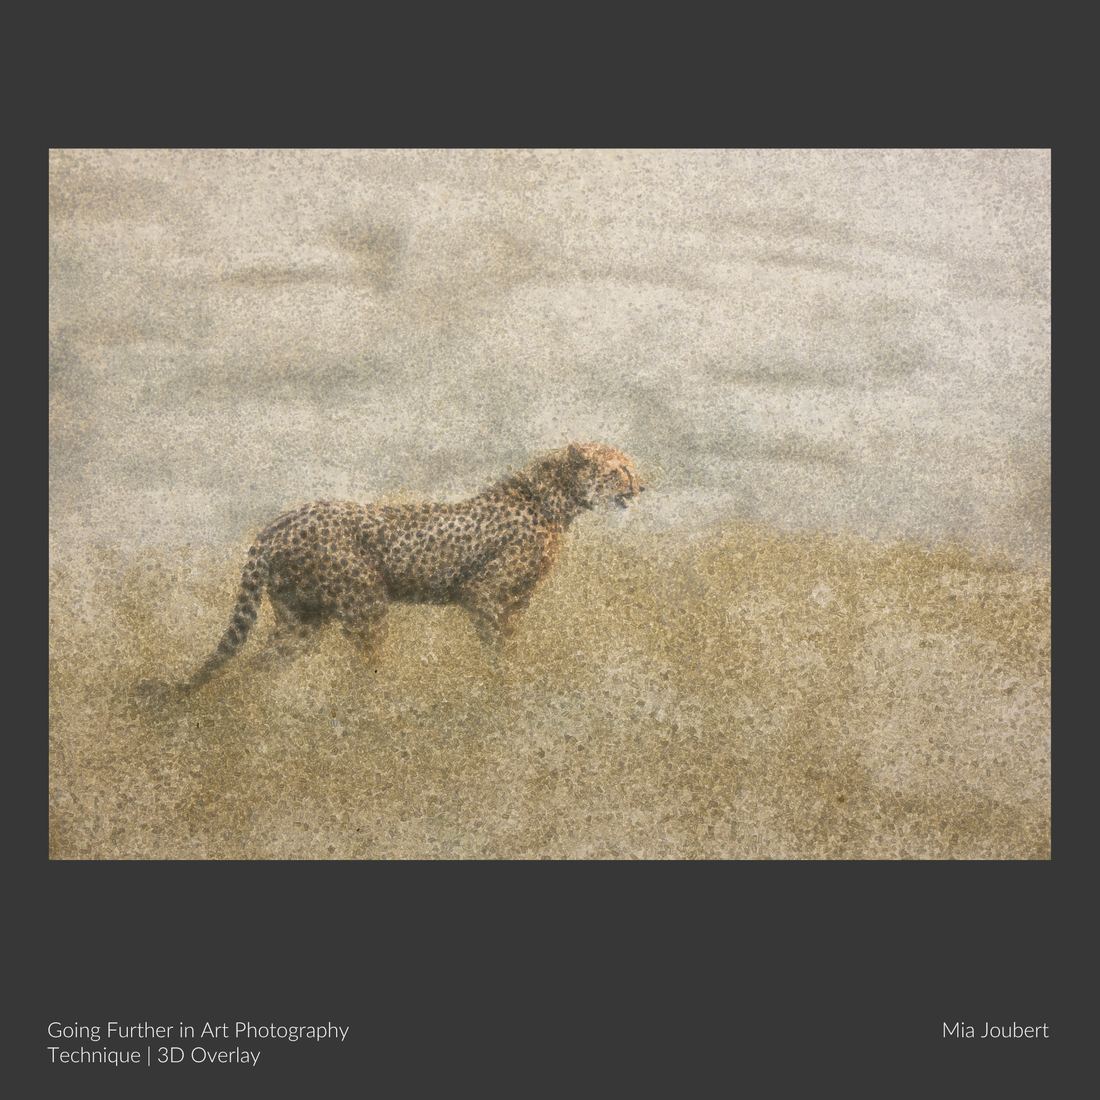
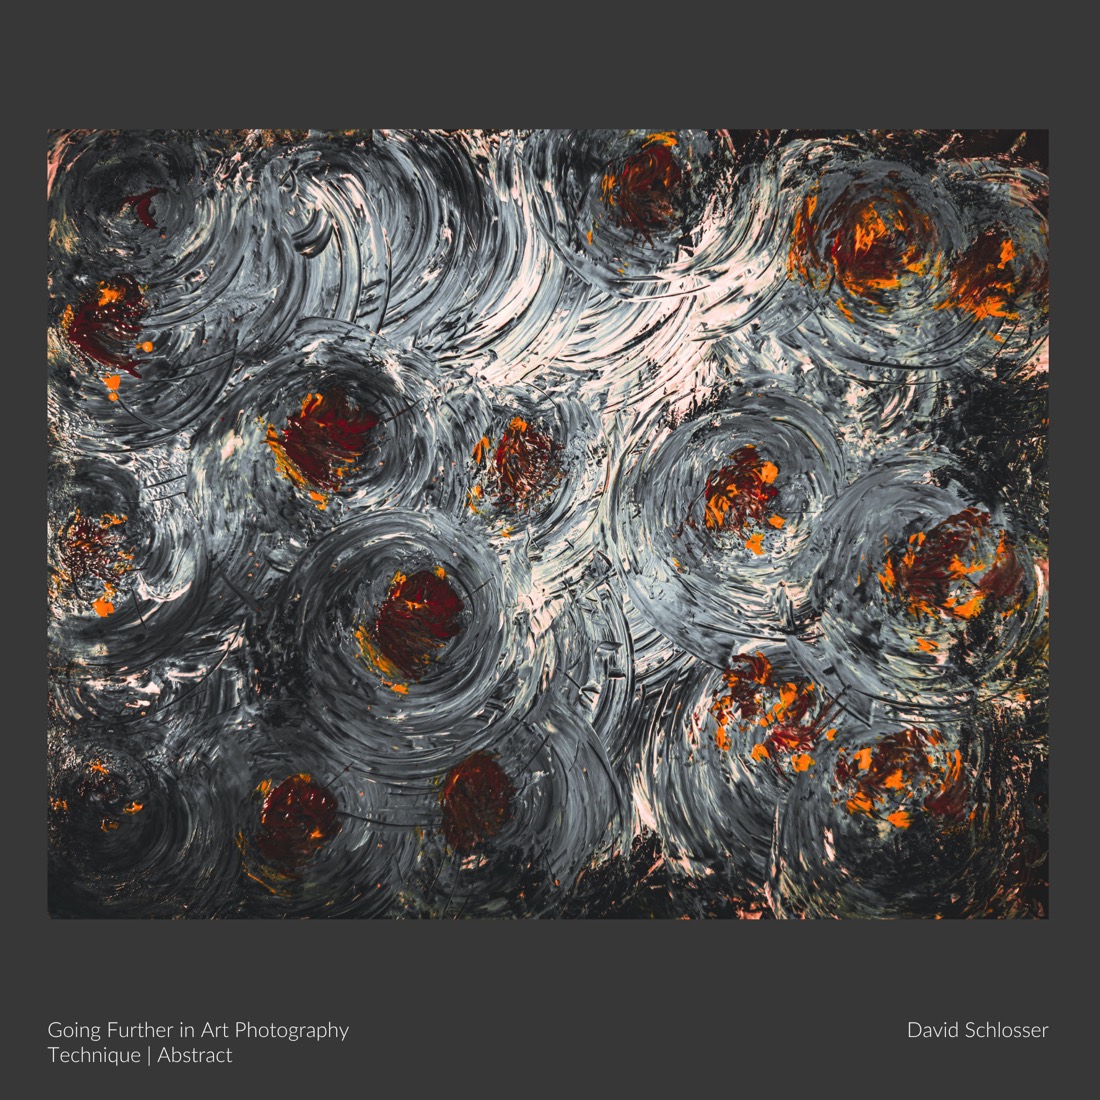
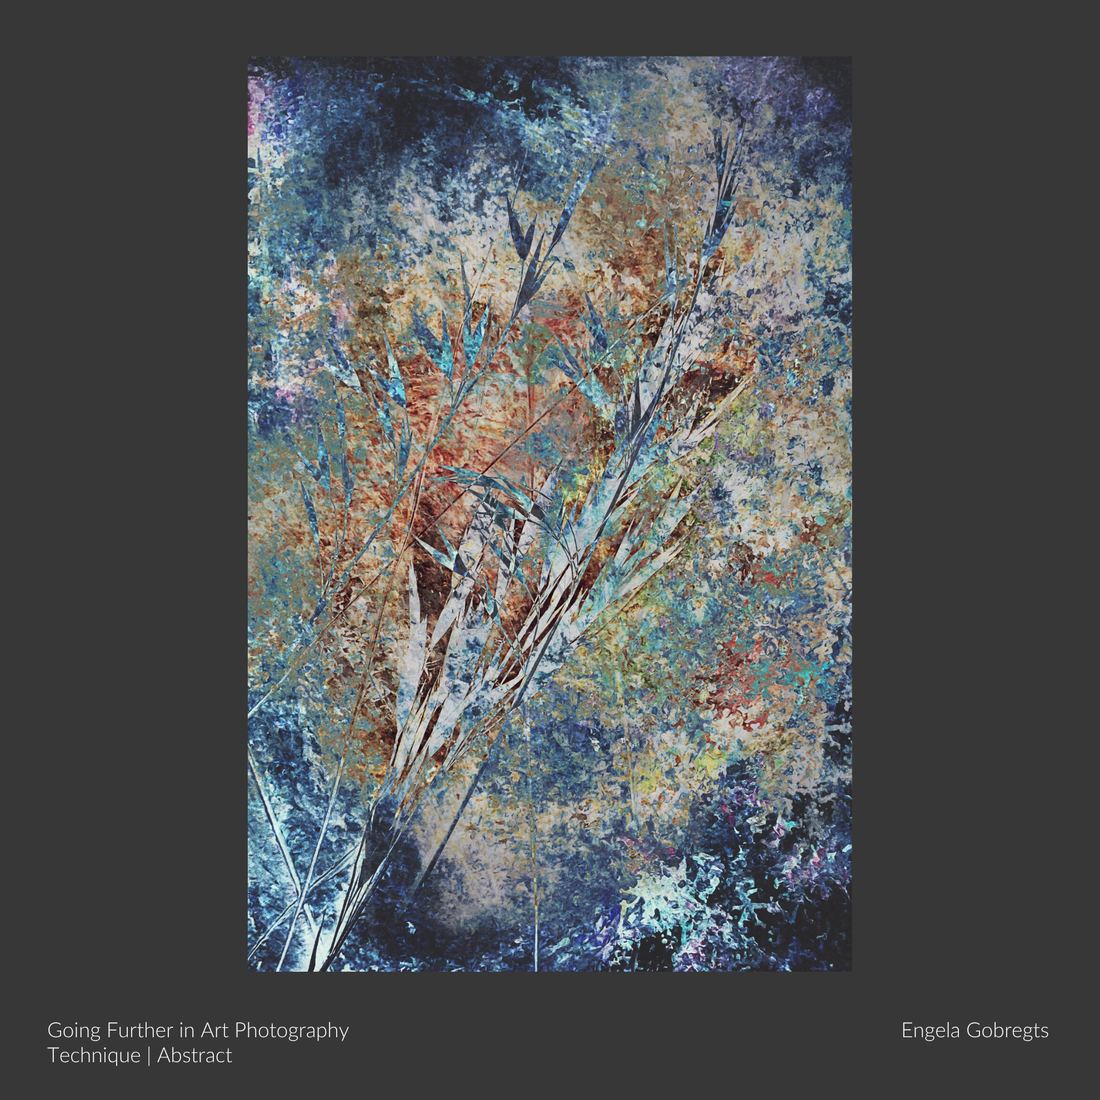
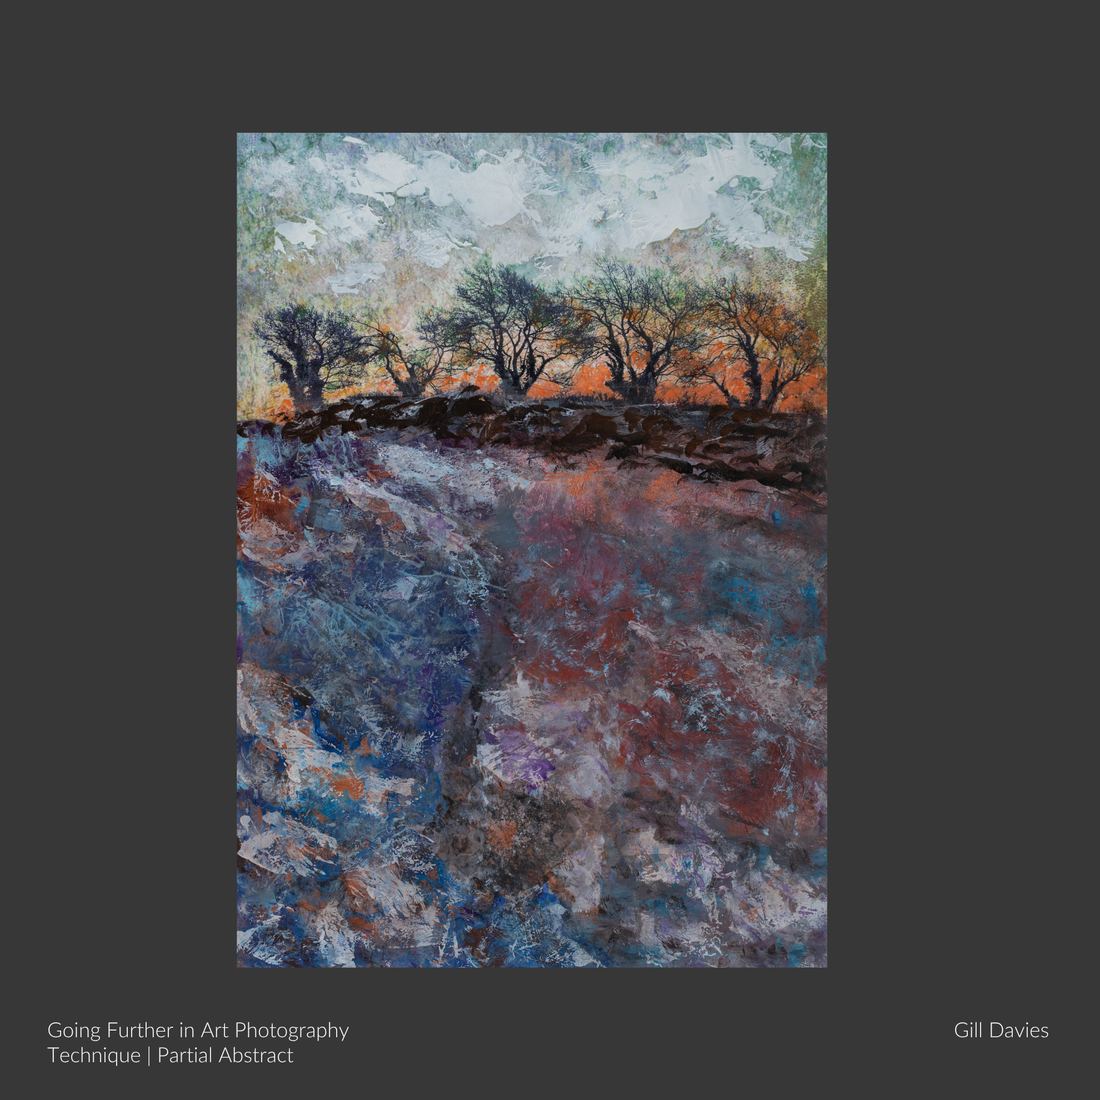
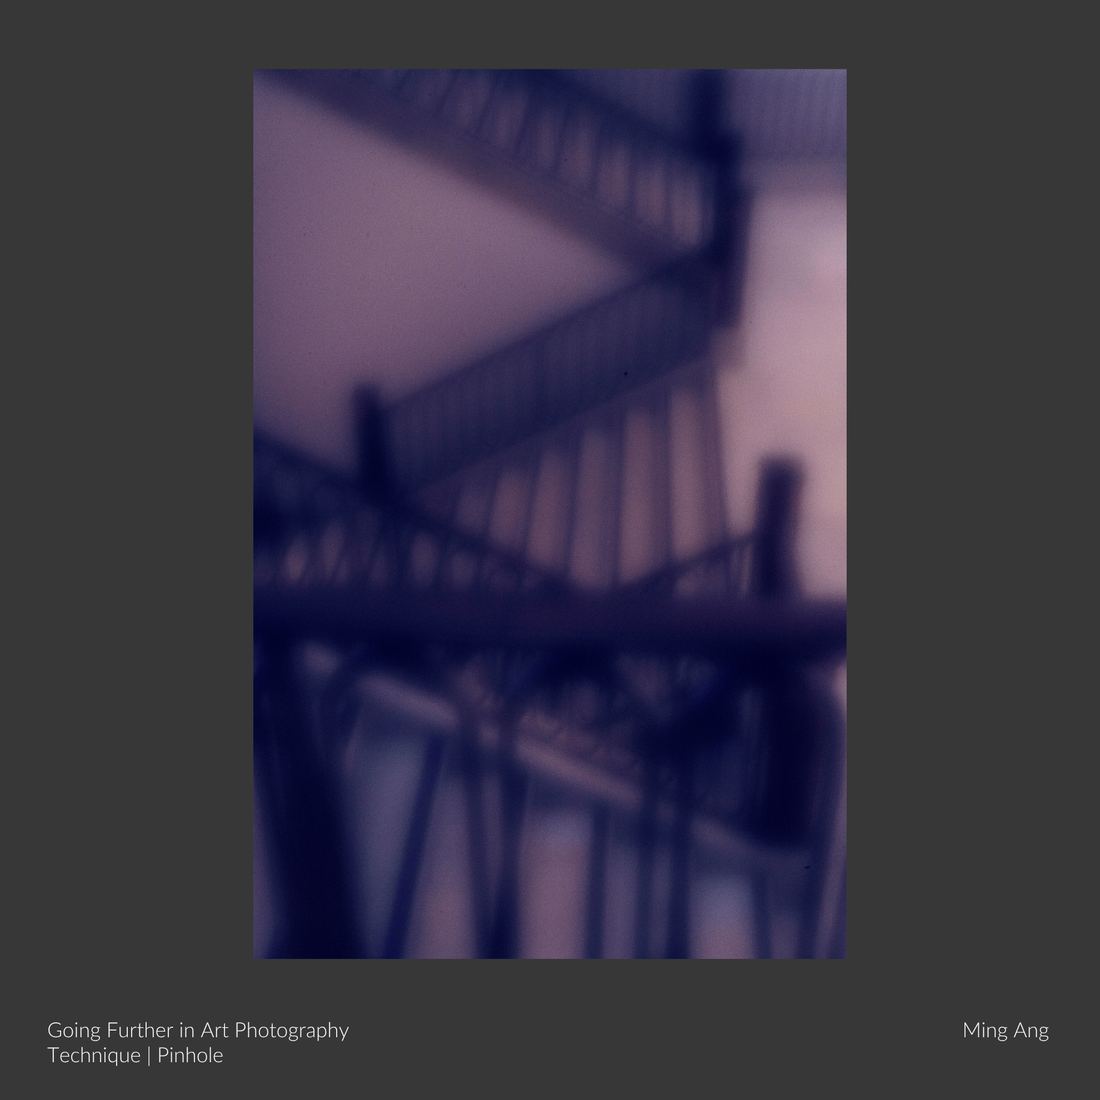
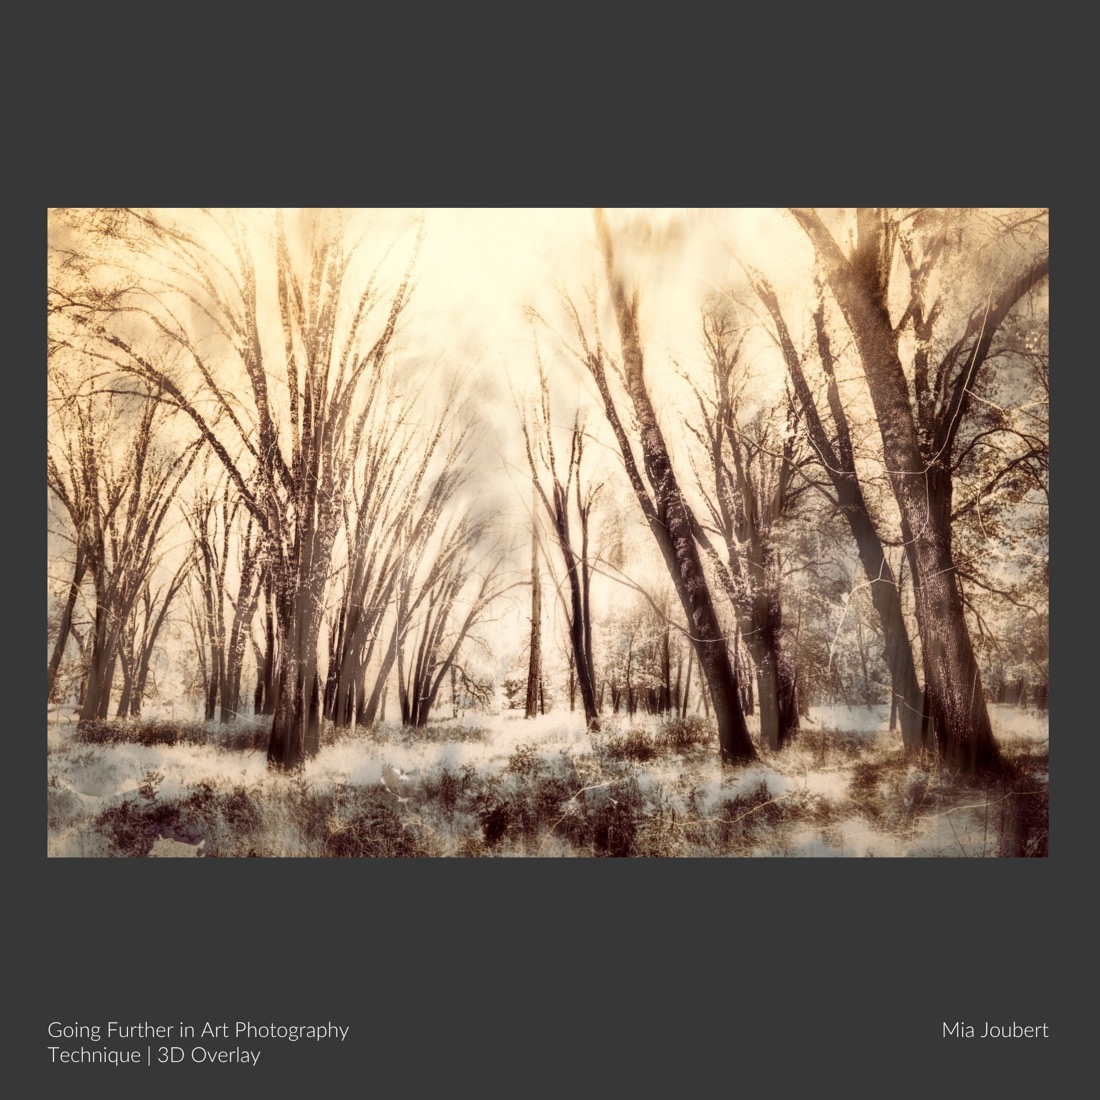
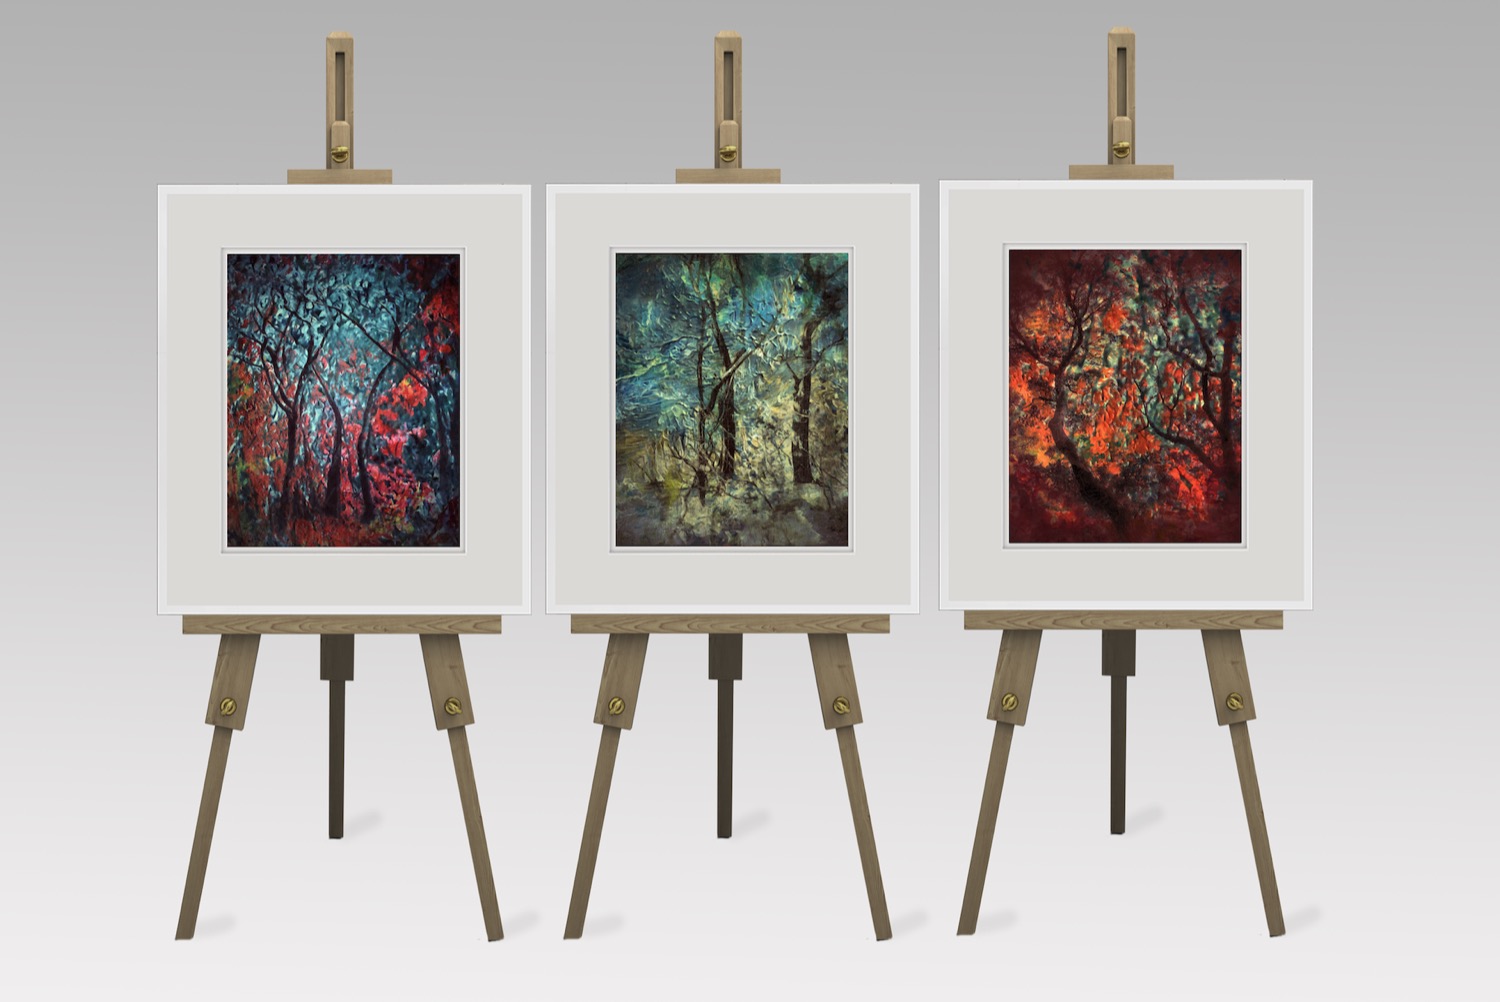
Work made on this course, in six different directions. Click any piece to preview it larger.
From a student
“I didn’t even have a portfolio. Now I’m selling my art.”
David Schlosser worked through the courses and is now a Creative Advisor at the Academy. On what the difference was:
“It has made me do more interesting work tenfold. I never did any of that stuff. You watch some videos on YouTube and you don’t get the depth that you get when you are actually taking a course.”

The thing he says changed him is the thing this course is built on.
“What changed me taking the course was the fact that a mistake could be brilliant. You think it is going to be a mess and then you look at it and you go, wow, how did that happen? Now I am starting to be able to go back and figure that out.”
And the part he was not expecting.
“I brought some pieces into a craft store. I said to the lady, can I pick your brain, how would I go about selling these? And she said, I love these. I will buy them all.”
David Schlosser · United States
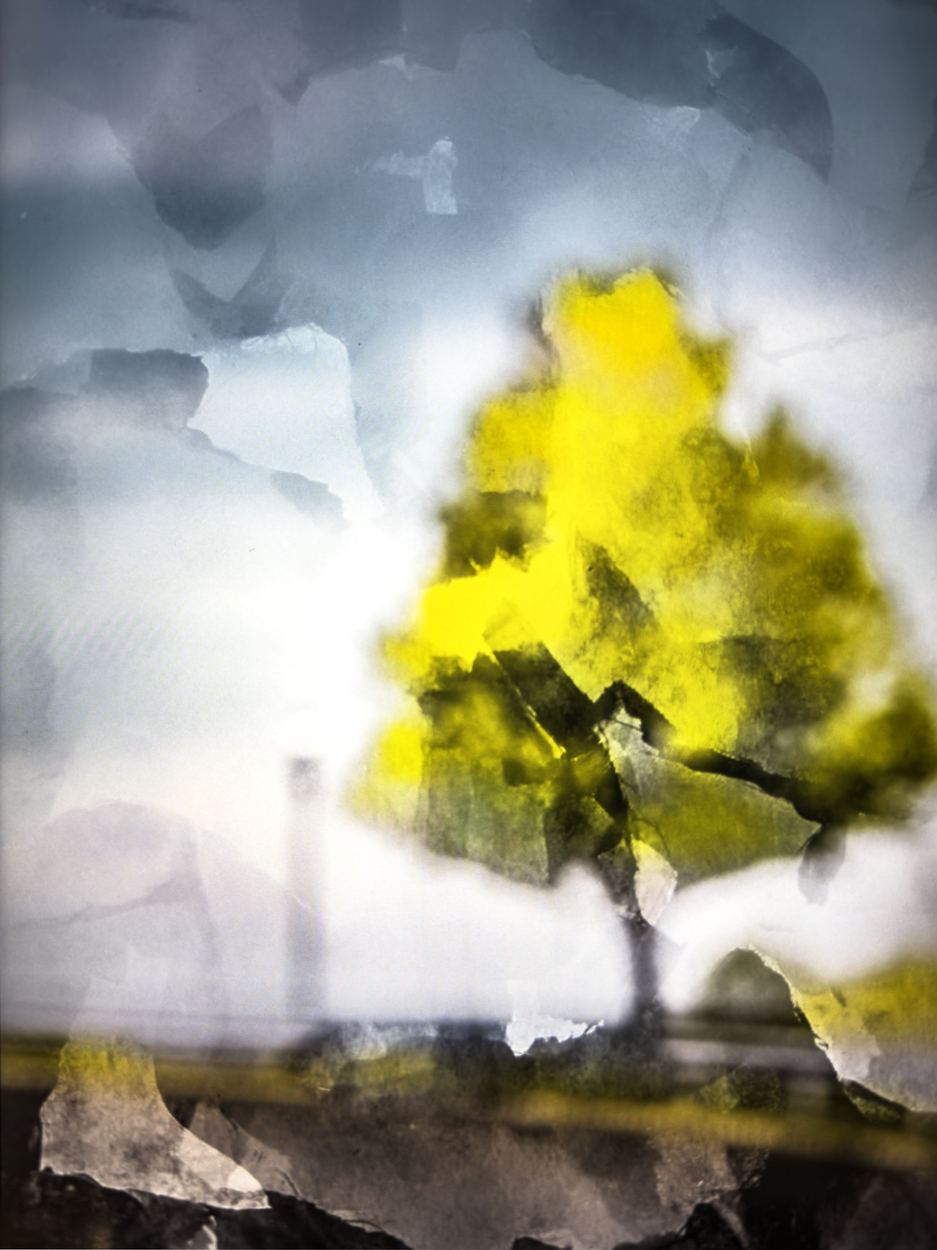
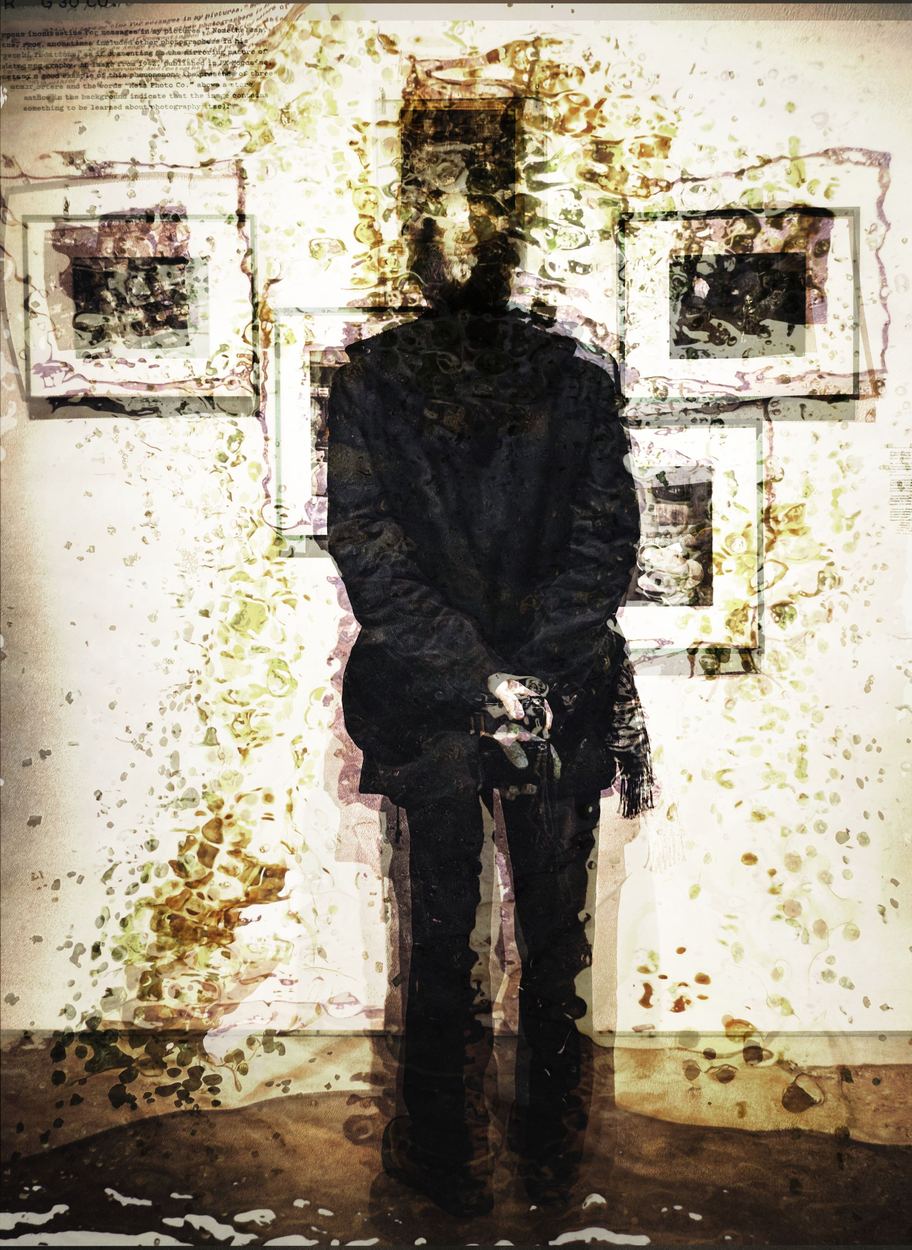
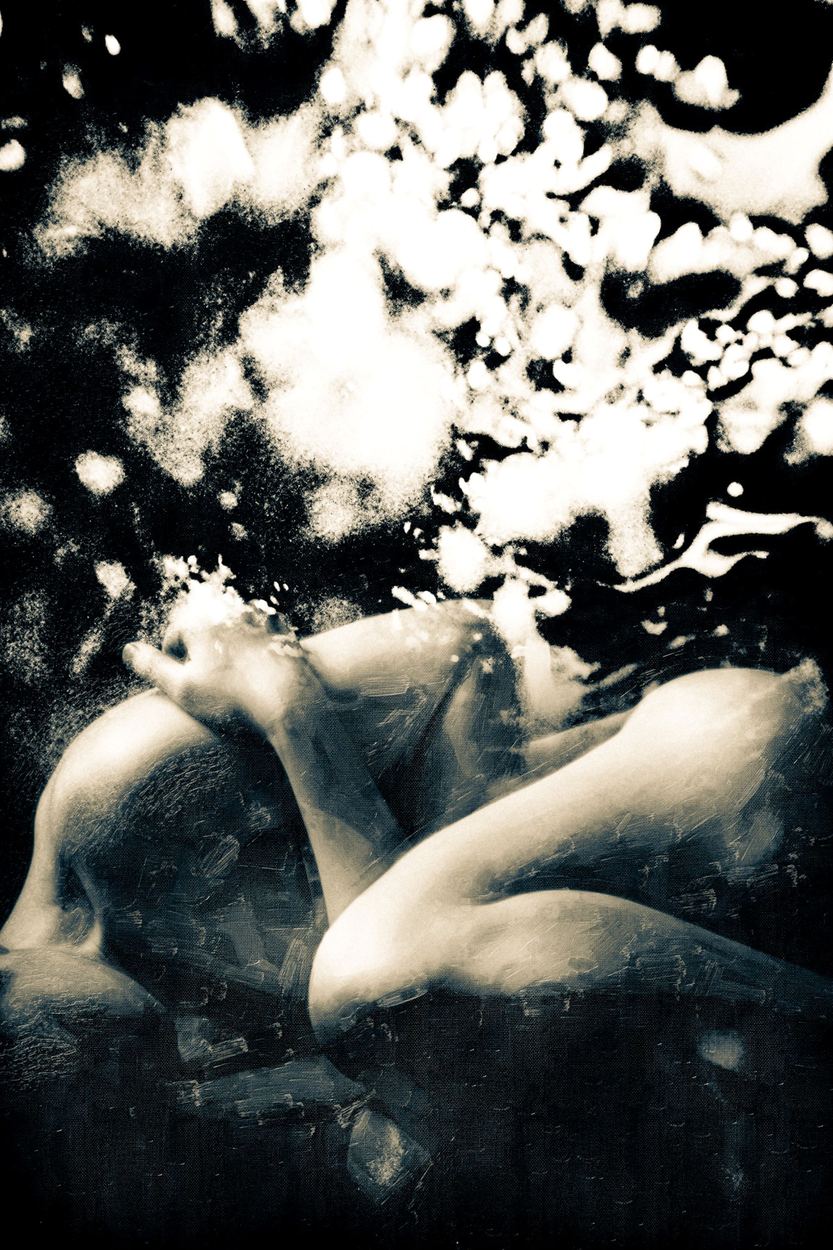
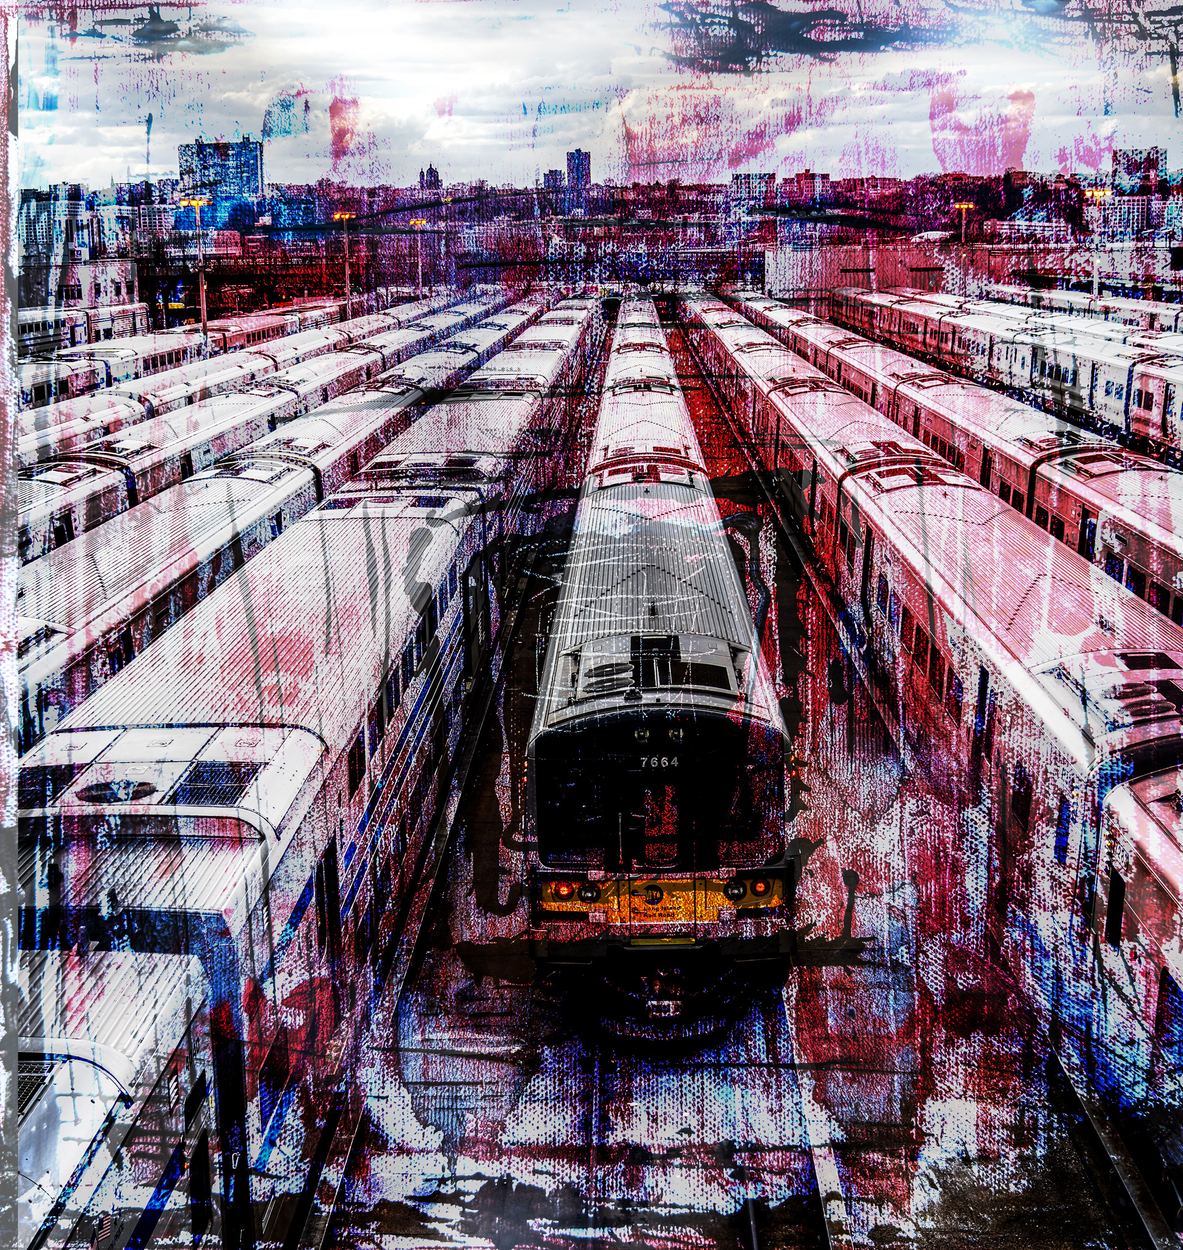
David’s own work. Click to preview the complete piece.
A question I am often asked
Can I rather do this course live with you instead of online?
Yes, occasionally, and on the same terms as the first course.
How it runs
Eight weeks, one afternoon a week, roughly two hours a session, on Zoom. A presentation, then questions, then I look at the work you have made since the week before and give you feedback on it directly.
What is taught is identical
Not a version of the online course. The same eight techniques, in the same order.
You also receive everything an online student receives. Membership of the Inspire community, your own class group, the full recordings of every session, and the course added permanently to your library at the Academy.
The only difference is that I turn up and teach it. That is what the fee is for, and it is worth being straightforward about it.
When it runs
Sessions are at 3pm South African time. That is comfortable in the United Kingdom, Europe and North America, and it is genuinely difficult in Australia and New Zealand, which is the honest limit of teaching live to people spread across the world.
A class only goes ahead once at least seven people have put their names down within hours that work for them. That is why it runs rarely, and why the online course exists.
If you would like to be considered for the next live class, put your name down. Nothing is payable now. When enough people have registered in workable hours, a date is set and everyone on the list is offered a seat first.
My recommendation
Which step are you on?
If you have finished my first course, Getting Started in Art Photography, whether you did it online or live with me on Zoom, then you are ready to continue and this is the course to take next.
If you have not, go and do Getting Started first, and I would suggest you do it online. It is easier, it is more affordable, and you can start today. When you come back here you can decide whether to carry on online or join a live Zoom class.
Both take you to artphotographyacademy.com